Getting Started
dbt Charts Cloud
This page describes dbt Charts Cloud, the hosted
product — these features are not part of the open source dct
engine.
Setting up dbt Charts Cloud takes three steps: connect the git repository that holds your dbt Charts project, create a project pointing at it, and connect your warehouse. At the end, every dashboard in your repo is live, shared, and updating on every push.
The easy way: hand this to your coding agent
The fastest path to a live board is to paste this into the coding agent
you're already using in this repository and let it drive the setup end to
end. The cloud-setup skill it reads carries every step; the prompt names it
and grants the two permissions the setup needs, so the agent doesn't stop
to ask for them halfway.
Publish this repository's boards to dbtcharts.com with dbt Charts. You may
push dbt Charts files to this repository's default branch and create a
read-only warehouse credential for dbt Charts Cloud.
Start with: uv tool install dbt-charts && dct skills cloud-setup
(the install takes a few minutes: give it a long timeout rather than retrying)
The agent needs you in the browser once. It runs dct cloud login, which
prints a code and a URL: sign in (or create an account), pick or create the
organization the CLI should reach, and approve. Right after, unless the
repository is public, it hands you a link to install the GitHub App and
pick the repository; the page after the pick tells you to go back to the
terminal, and there is nothing else to press. Everything else — connecting
the project, wiring up the warehouse, mapping sources, rendering — the agent
does itself, serving the boards locally so you can watch as it goes.
Prefer doing it by hand? The manual steps below are the same flow, walked through in the UI.
Everything here from the terminal. Each step below is also a
dct cloud verb. To script the setup yourself, or to see
exactly what the agent runs, follow
Automating setup.
Before you start you need:
- A git repository containing a dbt Charts project: a
dbt_charts.ymland acharts/directory of dashboards. If you don't have one yet, build it locally first with the open source engine: see Installation and the Quick Guide. - A warehouse that Cloud can reach over the internet (see Data connections).
Sign in and create an organization
Sign up with an email address and password, or with Google or GitHub sign-in where offered (social sign-in is used only to authenticate you; it does not grant Cloud access to your repositories).
Everything in Cloud belongs to an organization: members, projects, and warehouse connections are all org-scoped. Create one with a name and a URL slug, and you become its admin. Invite teammates by email; each invitation is a single-use link that expires after seven days. Members hold one of three org roles:
- Admin: manages members, the git connection, and warehouse connections. An org always keeps at least one.
- Creator: uses and builds projects and dashboards, subject to access control. This is the default for a new invitation.
- Viewer: read-only. Access control still decides which dashboards they see, but a Viewer's grants are capped to view-only capabilities, so no grant can give them edit rights.
Connect your git repository
Cloud reads dashboards straight from git; the repository stays the source of truth. Repositories must be on GitHub, public or private; other git hosts are not supported. There are two ways to connect one:
GitHub App (recommended). Connecting starts in Cloud and finishes on GitHub. You authorize the dbt Charts GitHub App, and Cloud then asks GitHub (as you, right then) which repositories you can reach. It offers only the ones GitHub says you administer, and connects the one you pick. Nothing about that answer is stored: every connection re-asks. Once connected, every push syncs automatically via webhook.
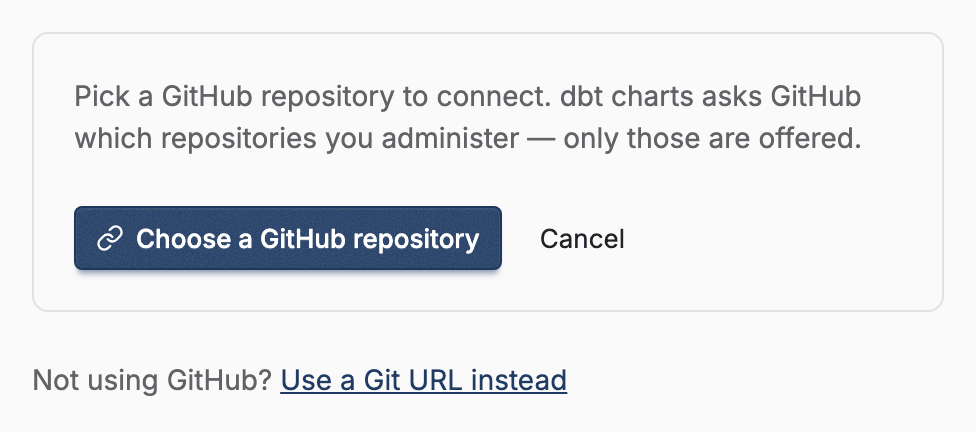
Two things follow from letting GitHub decide:
- Admin on the repo is the requirement. Write access is not enough. If a repository you expected isn't offered, you don't administer it on GitHub; ask a GitHub admin for that repo, not a Cloud admin.
- Cloud can't widen an installation. Which repositories an installation covers is chosen on GitHub, by someone who administers the account. If the App isn't installed yet, or covers the wrong repositories, Cloud sends you to GitHub's own install/configure page and picks the flow back up when you return. If you can't install it yourself, GitHub turns your install into a request for an account owner to approve; come back and connect once they do.
Git URL. A repository can also be connected by its plain HTTPS URL, with no
App install. For a private repository, enter a username and a password or token
(from the CLI, --git-username and --git-password). The credential needs
write access: Cloud pushes your edits to the dbt-charts/<project> branch of
the repository. Credentials in the URL itself and non-HTTP schemes are
rejected, and syncing is by periodic poll or an on-demand sync rather than push
webhooks.
One GitHub installation can serve several dbt Charts organizations without sharing anything between them: an org only ever sees the repositories its own members connected. A repository can back more than one project in the same org; each project pins its own work branch, so distinct projects on the same repo are distinguished by branch, never by repository alone.
Disconnecting GitHub
Disconnecting GitHub (via Settings → General → Overview → Disconnect all repositories, beside the org's project list) unbinds every project in the org from its repository; the projects themselves are not deleted. Their git data, branches, and dashboard history are preserved, and so is the repository URL on each project.
The GitHub App stays installed: it belongs to the GitHub account, and other dbt Charts organizations may be using the same installation. Uninstalling it is done on GitHub, and that disconnects every org at once.
After disconnecting you can:
- Reconnect: connect each project again from its Settings → Git page. There is no automatic re-link: reconnecting re-asks GitHub whether you still administer that repository, which is the point.
- Delete a project from Settings → Projects if you no longer need it. This removes all dashboard and git data and cannot be undone.
Create a project
A project binds one repository (or one subdirectory of it) to a set of dashboards. Org admins create them; a project binds a repository to the whole org, so the tier matches what the action does.
GitHub App (two-step). Step one hands you to GitHub, which reports back the
repositories you administer; pick one. Cloud then reads that repo's default
branch and tree to pre-fill the form: the project name and slug derive from the
repository name, and the subdirectory is inferred from the location of your
dbt_charts.yml (or charts/ directory) in the tree.
Git URL (one step). Follow the "Use a Git URL instead" link and fill in all fields manually.
In either case you can edit the pre-filled values before saving. The fields are:
- Name and slug: the slug becomes part of the project's URLs.
- Repository: the GitHub repo you picked, or the git URL.
- Subdirectory (optional): where the dbt Charts project lives inside the
repo, for example,
data/dashboards. This is what makes monorepos work: several projects can share one repo with different subdirectories. - Default branch: the branch your team merges to (your repo's default branch if left blank on GitHub). It must exist. Cloud treats it as pull-only: Cloud never commits to it directly.
- Work branch (optional, defaults to
dbt-charts/<slug>): the Cloud-owned branch where edits made in Cloud land. It must not already exist on the remote; Cloud creates it. Changes reach your default branch the same way any change does: through a pull request, which Cloud opens and keeps updated for you.
On creation Cloud runs a first sync: it fetches the default branch, registers
every dashboard in charts/, and discovers the source names your YAML
references. If the sync fails (bad branch, unreachable remote), nothing is
half-created; fix the issue and try again.
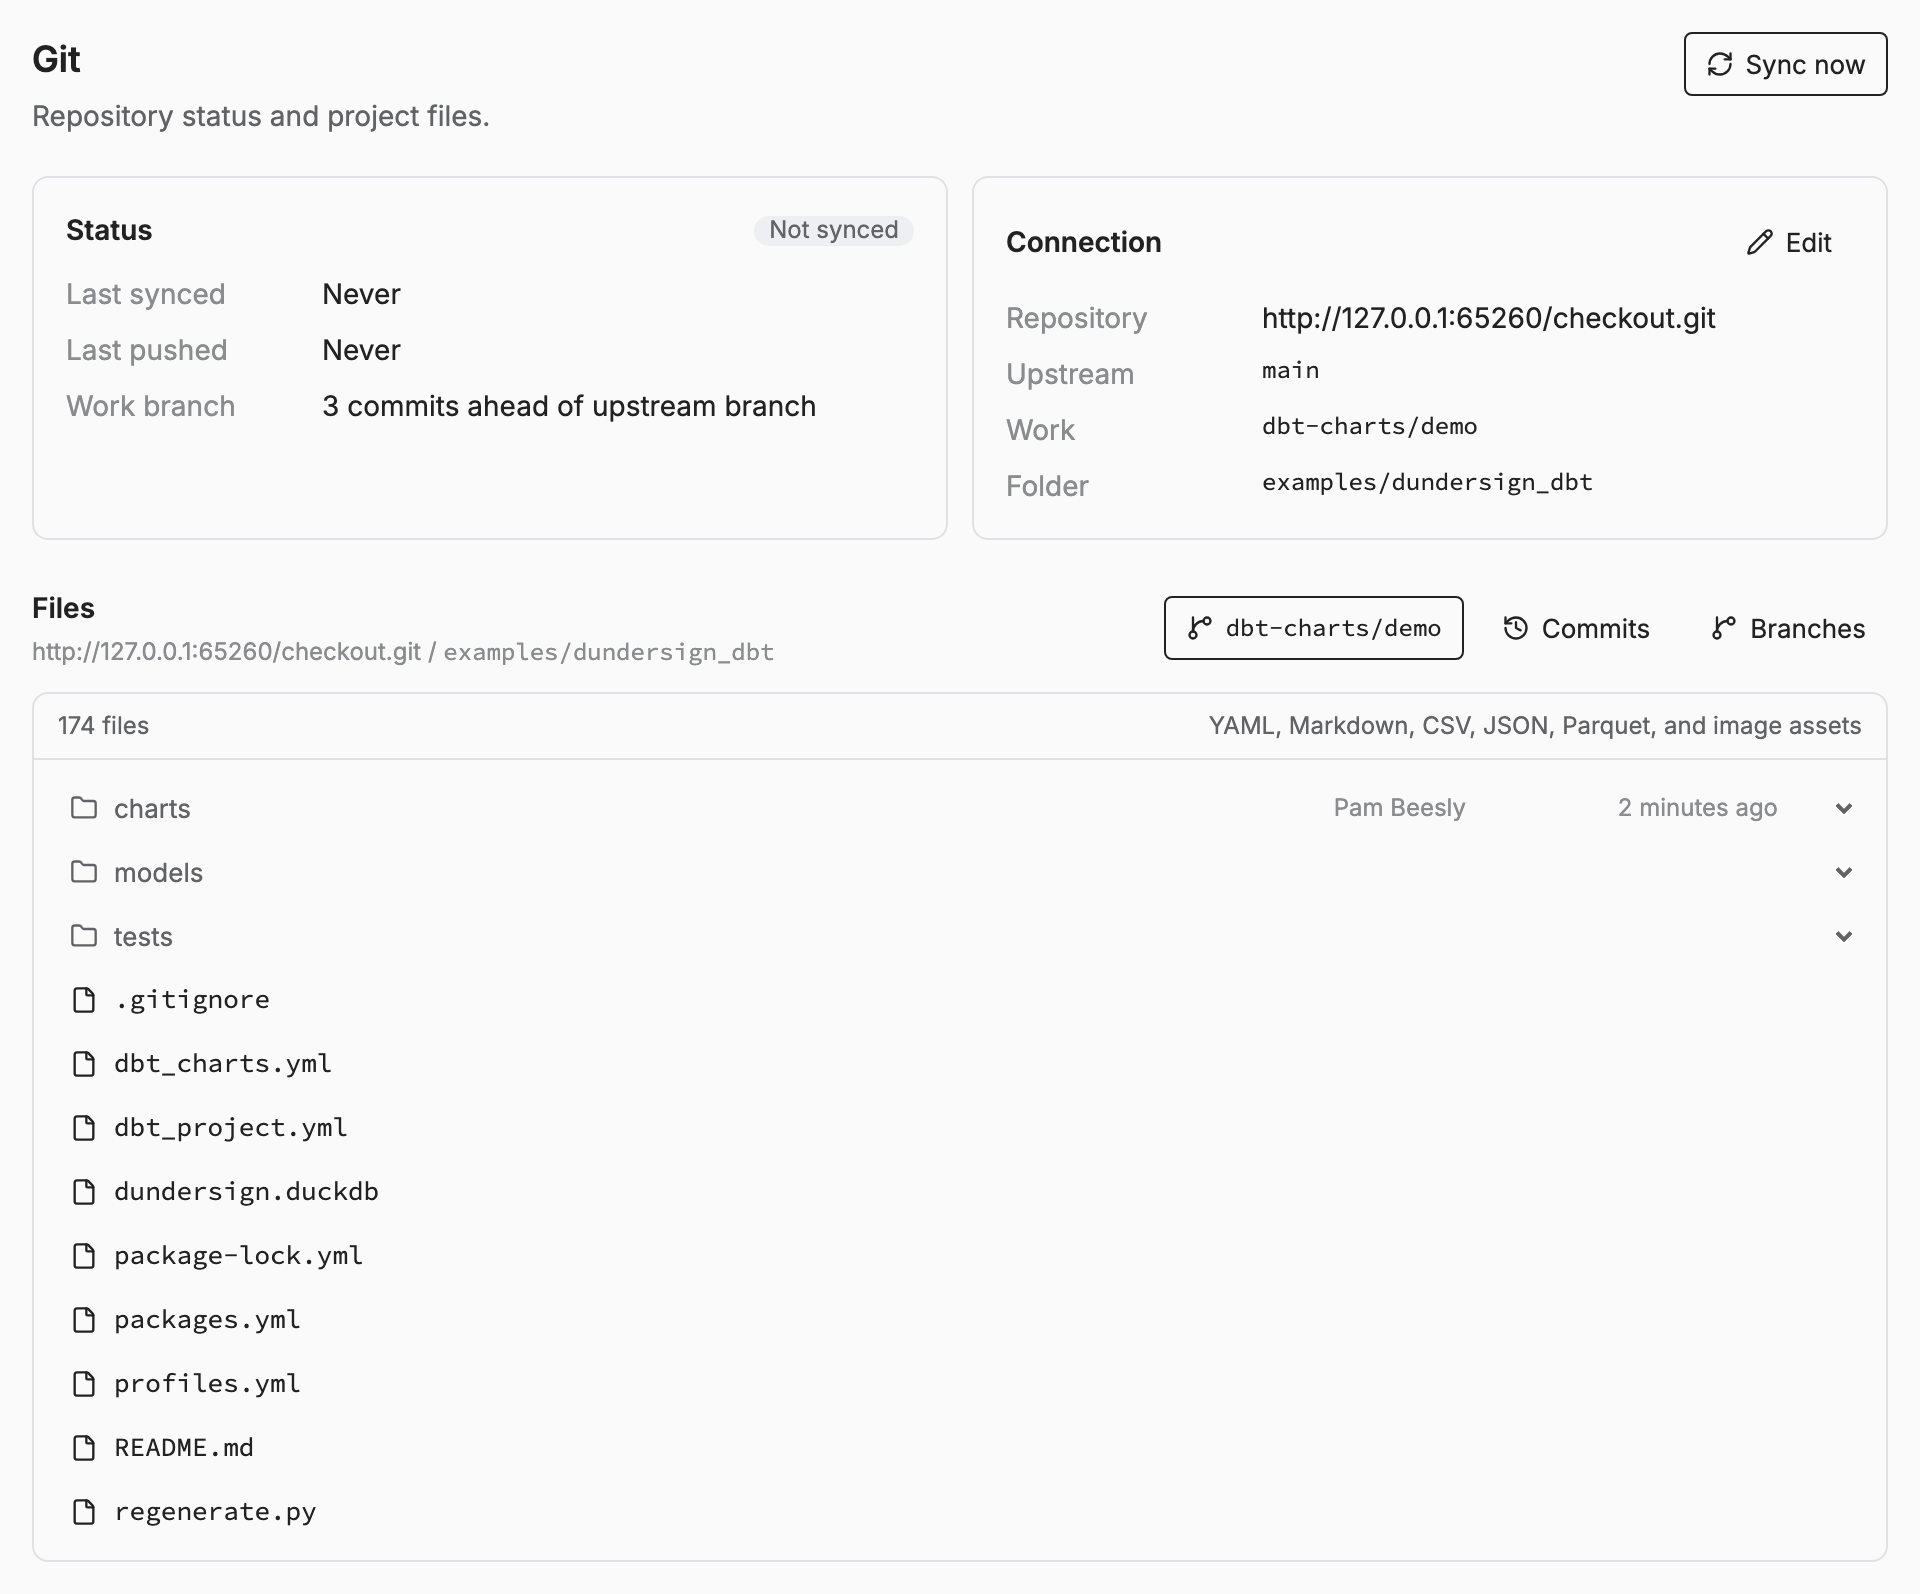
The project's Settings → Git screen tracks the connection from here on: when it last synced and pushed, the repository and branches, and a file browser over exactly what Cloud sees.
Connect your warehouse
Dashboards name their sources in YAML (source: warehouse); Cloud maps each
name to an org-level warehouse connection. After the first sync, an admin is
prompted to map any unmapped sources; create a connection (PostgreSQL,
Snowflake, BigQuery, or Redshift), test it, and pick the sources it serves.
The full flow, per-warehouse fields, and security notes are on
Data connections.
What you'll see
Once a project has a synced repo and mapped sources, its dashboards are live:
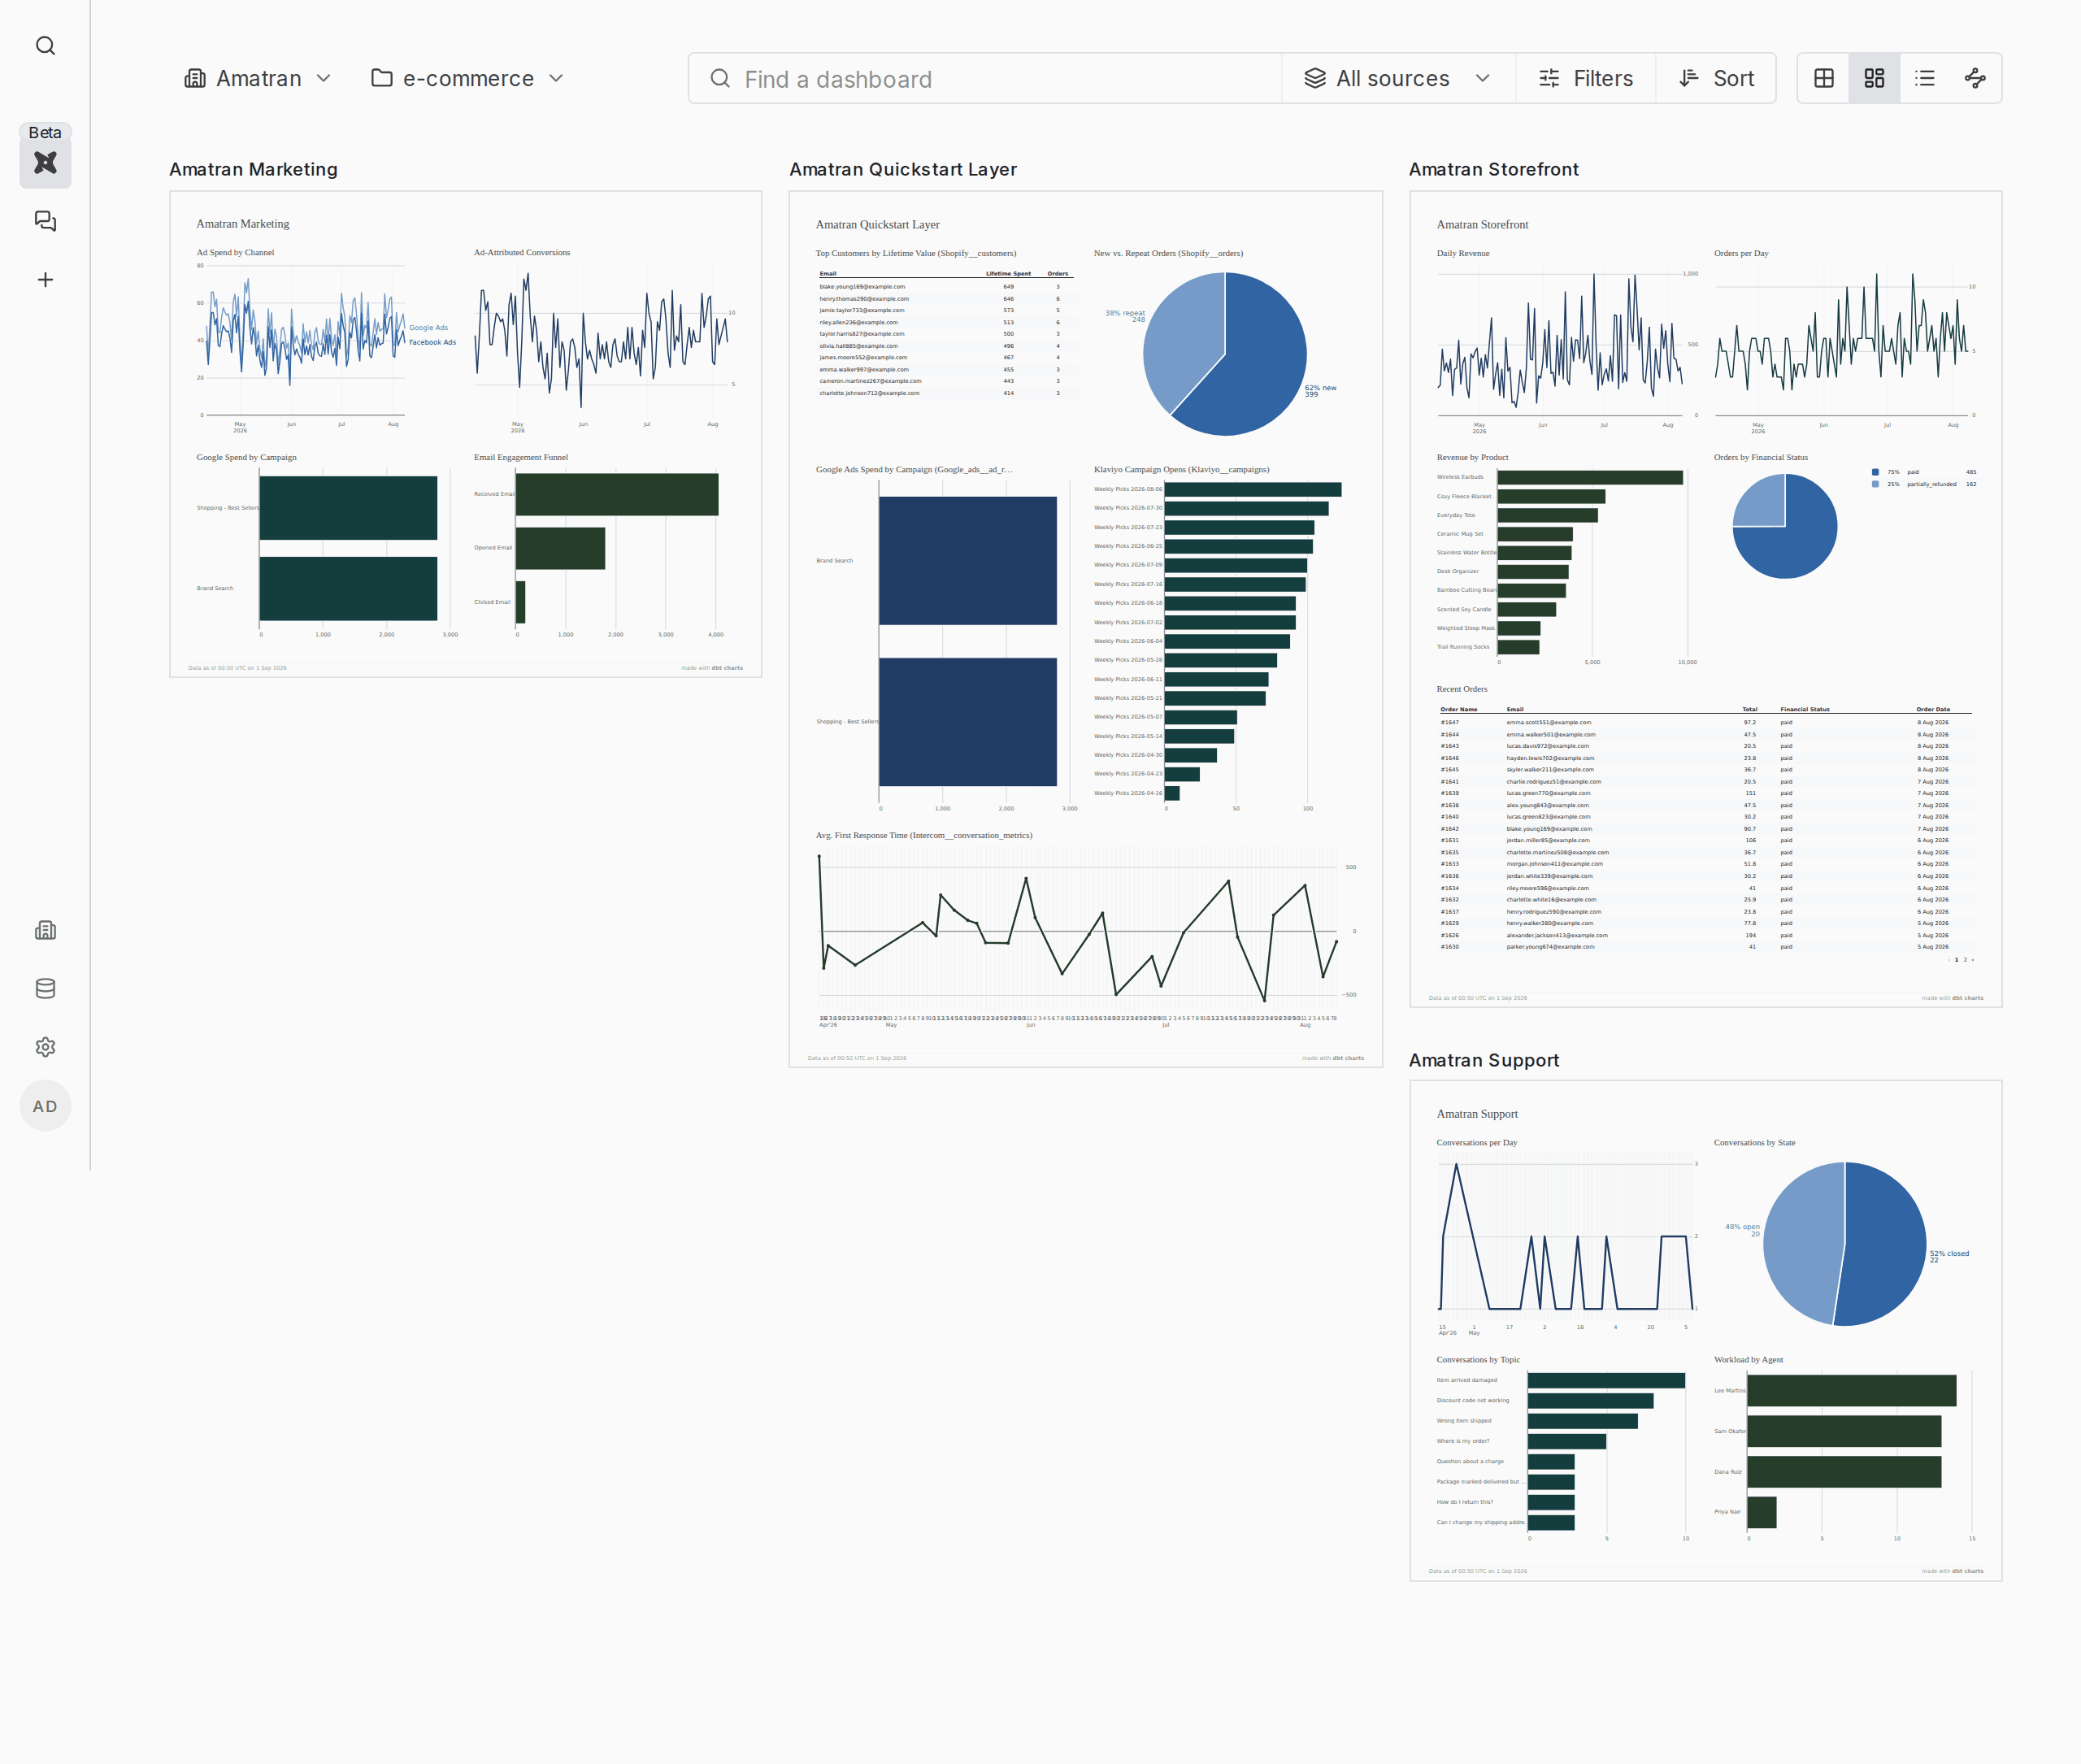
- Dashboards track git. The dashboard list is exactly the board files in
charts/on the synced branch. - A push is not a publish. Your commit goes live on the next sync, which
a GitHub App project starts within seconds of the push and a
repository-URL project only picks up on an hourly sweep.
dct cloud project
  sync
(or Sync now on the Git settings screen) publishes right away, anddct cloud boardsproves it landed: a board you edited gets a laterRENDERED_ATand a differentCOMMITonce its re-render finishes. See the git workflow. - Edits made in Cloud land on the work branch, visible immediately to
the team and mergeable into the default branch via the rolling pull
request. Dashboards under
_drafts/stay in a private working area until promoted; see access control. - Branch previews: board URLs gain a branch scope (
/b/<branch>/…) to view any branch's version; see the git workflow. - Freshness is governed by refresh policy; see Refresh.
Related
dct cloud: every step on this page from the terminal- Data connections: warehouse types, testing, and source mapping
- Access control: who can see and edit what
- Refresh: keeping dashboard data current
- AI Copilot: tuning what the project's chat panel knows